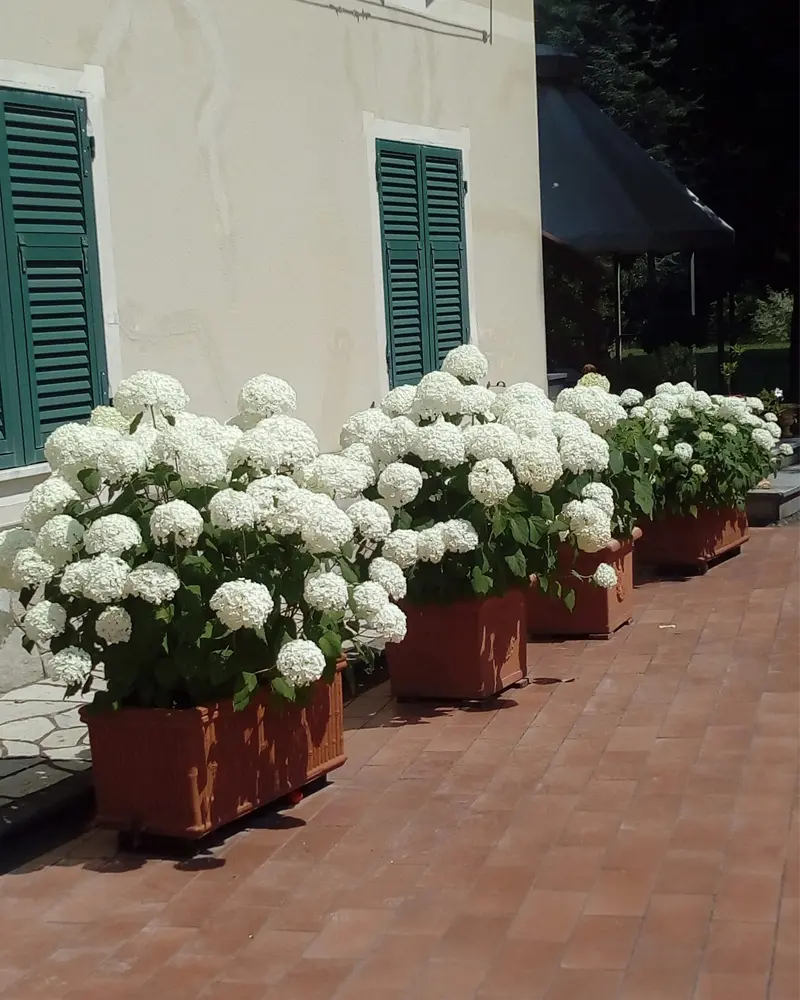
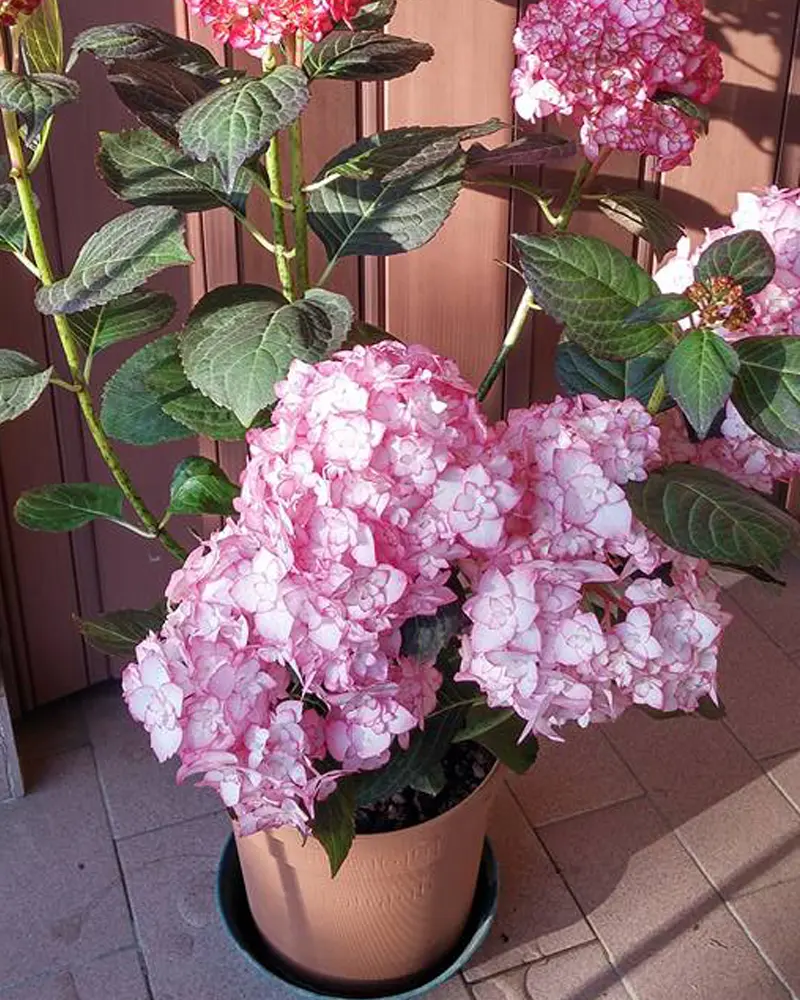
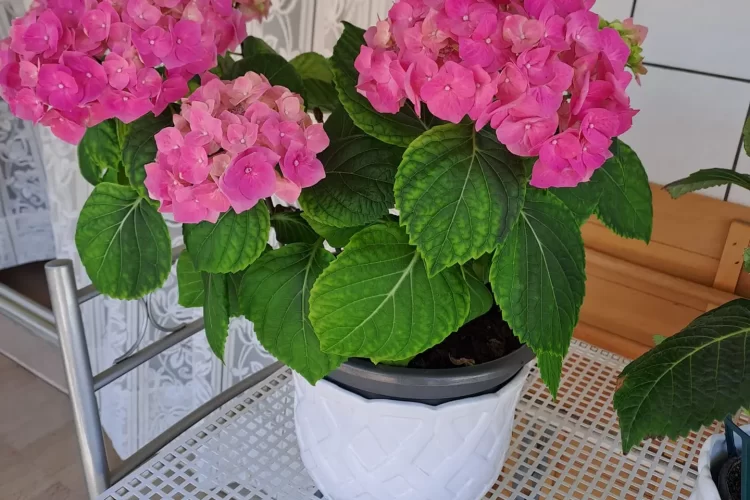
Hydrangeas are among the most beloved flowering plants, known for their vibrant, showy blooms and wide range of colors. Growing them in pots offers a flexible solution for gardeners with limited space or those who wish to add a touch of elegance to their patios, balconies, or small gardens. With proper care and attention, potted hydrangeas can thrive and provide beautiful blooms for years. Here is a complete guide to ensure success when growing hydrangeas in pots.
1. Choosing the Right Hydrangea Variety for Pots
Not all hydrangeas are suited for container gardening. While some species grow too large, there are compact varieties ideal for pots. Hydrangea macrophylla (Bigleaf hydrangea), Hydrangea paniculata (Panicle hydrangea), and Hydrangea serrata (Mountain hydrangea) are popular choices for containers due to their manageable size and versatility.
For those seeking a compact option, look for dwarf varieties like ‘Mini Penny’ or ‘Cityline’ hydrangeas, which stay small but offer abundant blooms.
2. Selecting the Ideal Pot
The right pot is essential for hydrangeas to flourish. Choose a pot that is at least 18-24 inches in diameter and has good drainage holes at the bottom. Terracotta, ceramic, or glazed pots are excellent choices as they provide weight and stability, preventing the plant from toppling over as it grows. Ensure the pot is deep enough for the roots to establish, as hydrangeas require ample room for root development.
If you plan to keep the hydrangea in the same pot for several years, consider a larger container to accommodate growth.
3. Preparing the Potting Soil
Hydrangeas thrive in well-draining, nutrient-rich soil. A high-quality potting mix with added organic matter, such as compost or peat moss, will help retain moisture while still allowing excess water to drain. Avoid heavy garden soil, which can lead to poor drainage and compacted roots.
To maintain the soil pH for optimal flower color, add garden lime for pink blooms or sulfur for blue blooms. Test the soil pH periodically to ensure it stays within the desired range.
Soil pH and Bloom Color
Hydrangea flower color is affected by the pH level of the soil:
- Acidic soil (pH below 6) produces blue flowers.
- Neutral to slightly alkaline soil (pH 6-7) results in pink flowers.
- White hydrangeas remain white regardless of soil pH.

4. Planting the Hydrangea
When planting hydrangeas in pots, it’s important to avoid disturbing the roots too much. Follow these steps for a successful planting:
- Fill the pot about halfway with potting mix.
- Carefully remove the hydrangea from its nursery container and gently loosen the root ball.
- Place the plant in the center of the pot, filling in around it with additional soil until it reaches 1-2 inches below the rim.
- Firm the soil gently around the base and water thoroughly.
After planting, place the pot in a location with morning sun and afternoon shade, as hydrangeas prefer bright, indirect sunlight.
5. Watering Hydrangeas in Pots
Hydrangeas have high water requirements, especially in containers, as potted plants dry out faster than those in the ground. Water deeply every few days, keeping the soil consistently moist but not waterlogged. During hot summer months, you may need to water daily, especially if the plant is exposed to full sun.
Wilting leaves and drooping blooms are signs of underwatering. However, overwatering can lead to root rot, so ensure the pot has excellent drainage and empty the saucer beneath the pot to prevent standing water.
6. Fertilizing Potted Hydrangeas
Potted hydrangeas benefit from regular feeding to support healthy growth and abundant flowering. Use a balanced, slow-release fertilizer formulated for flowering plants, or a fertilizer specifically designed for hydrangeas.
Fertilizer Schedule
- Spring: Apply a slow-release fertilizer at the beginning of the growing season.
- Summer: Use a liquid fertilizer every 4-6 weeks during the blooming period.
- Fall: Avoid fertilizing in late fall to allow the plant to prepare for dormancy.
Always follow the product instructions to avoid over-fertilization, which can damage the roots and reduce flower production.
7. Pruning and Deadheading Hydrangeas

Regular pruning helps maintain the shape and size of your potted hydrangea, as well as encourage new blooms.
When and How to Prune
- Bigleaf and Mountain hydrangeas: Prune after the flowers fade in late summer. These varieties bloom on old wood, so removing branches in spring may reduce flowering.
- Panicle hydrangeas: Prune in early spring before new growth begins. These hydrangeas bloom on new wood, so annual pruning encourages larger blooms.
Deadheading spent flowers throughout the growing season can also improve appearance and channel the plant’s energy into new growth.
8. Managing Pests and Diseases
Potted hydrangeas are susceptible to several pests and diseases. Regular inspection and prompt treatment are essential to keep the plant healthy.
Common Pests
- Aphids: Small insects that cluster on new growth and buds. Apply insecticidal soap or a neem oil solution for treatment.
- Spider Mites: These tiny pests cause leaves to turn yellow and develop a speckled appearance. Increase humidity and treat with insecticidal soap if needed.
- Scale Insects: Hard-shelled insects that attach to stems and leaves. Remove scales by hand or use a horticultural oil spray.
Diseases
- Powdery Mildew: A fungal disease causing white patches on leaves. Ensure proper air circulation and avoid overhead watering to prevent mildew.
- Root Rot: Caused by overwatering and poor drainage. Use a well-draining potting mix and empty the saucer after watering.
9. Seasonal Care and Overwintering
In colder climates, potted hydrangeas may need extra protection to survive winter.
Overwintering Indoors
For regions with freezing temperatures, bring the potted hydrangea indoors to a cool, bright location before the first frost. Water sparingly during winter, keeping the soil barely moist to prevent the roots from drying out.
Outdoor Winter Care
If overwintering outdoors, place the pot in a sheltered spot and insulate it by wrapping with burlap or bubble wrap to protect the roots. Add a thick layer of mulch on top of the soil to provide extra warmth.
10. Repotting Your Hydrangea
Hydrangeas need to be repotted every 2-3 years to refresh the soil and give the roots room to expand. Repotting in spring is ideal, as it allows the plant to establish before the growing season.
Steps for Repotting:
- Choose a pot one size larger than the current container.
- Gently remove the hydrangea from its pot and loosen the root ball.
- Place it in the new pot with fresh potting soil, filling around the edges.
- Water thoroughly and position the pot in its usual spot.
Repotting rejuvenates the plant, improves drainage, and provides space for healthy growth, leading to more vibrant blooms.
Conclusion
Growing hydrangeas in pots offers a beautiful solution for gardeners who want to enjoy these stunning plants without a traditional garden. With proper care, your potted hydrangea will provide years of lush foliage and abundant blooms. Remember to select the right pot, maintain consistent watering, and apply seasonal care for the best results.


