Dog healthy chew recipe with parsley for dental care
I’ll never forget the first time I tried to make a dog healthy chew recipe with parsley for dental care for my lab, Buddy. I was so proud, pulling these little brown sticks out of the oven. They looked… questionable. Buddy took one sniff, gave me this look of pure betrayal, and then nudged it with his nose like it had offended him. Turns out, I used beef liver powder that was way past its prime. The smell was something else. He wouldn’t go near them, and my confidence was crushed. But hey, we all start somewhere, right? Now, after a lot of trial and error, he goes crazy for them and his breath is so much better.
Recipe Card
| Recipe Title | Dog healthy chew recipe with parsley for dental care |
|---|---|
| Servings | About 20-25 small chews |
| Prep Time | 15 minutes |
| Cooking Time | 2.5 – 3 hours (dehydrating) |
| Calories | Approx. 25-30 per chew |
Ingredients
- 2 cups whole wheat flour (or oat flour for sensitive tummies)
- 1/2 cup fresh parsley, finely chopped
- 1/2 cup low-sodium chicken or beef broth (no onion or garlic!)
- 1/4 cup plain, unsweetened applesauce
- 1 large egg
- 2 tablespoons coconut oil
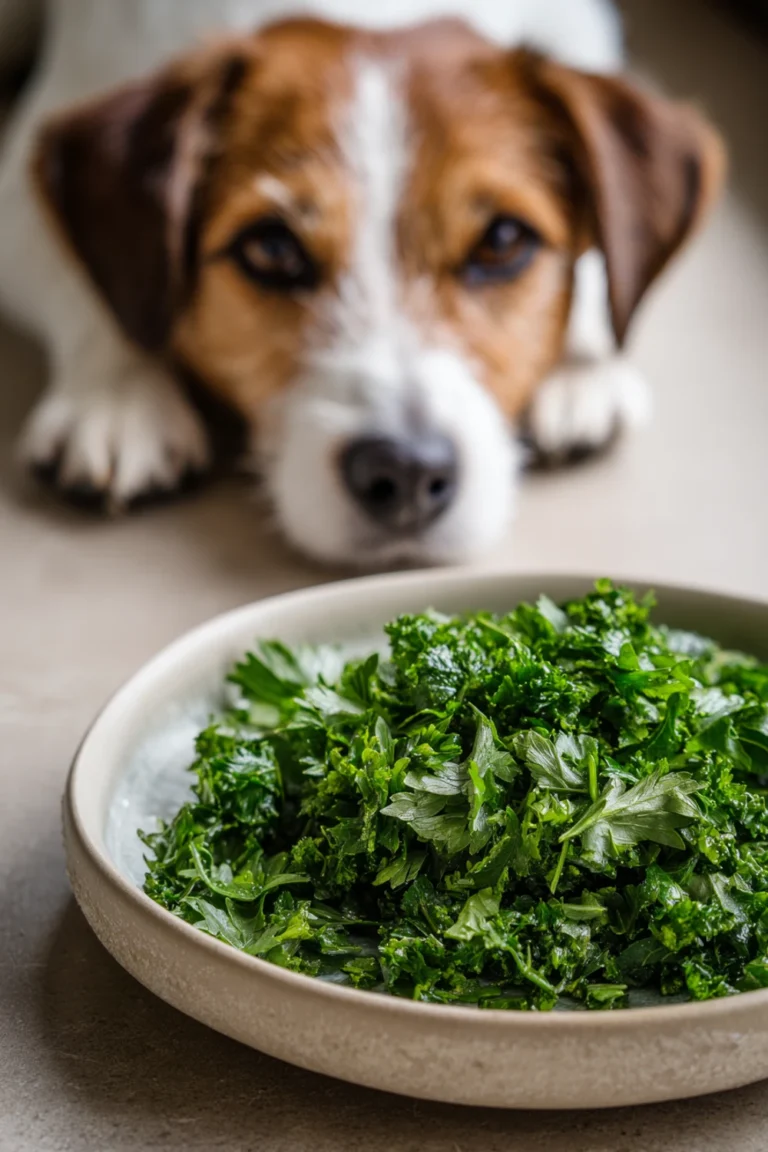
The parsley is the real star here for fresh breath. Buddy used to have dragon breath, but a little of this really helps. I learned the hard way to use fresh, not dried—dried just doesn’t have the same punch. The coconut oil makes his coat super shiny, which is a nice bonus. And that applesauce? It’s just for a tiny bit of sweetness he loves, without any sugar.
Directions
- Preheat your oven to its lowest setting, usually around 170-200°F. If you have a food dehydrator, even better—set it to 160°F.
- In a big mixing bowl, combine the whole wheat flour and the finely chopped fresh parsley.
- In a separate smaller bowl, whisk together the low-sodium broth, applesauce, egg, and coconut oil until it’s pretty smooth.
- Slowly pour the wet ingredients into the dry flour and parsley mixture. Stir it all together until a stiff dough forms. It might be a bit crumbly at first.
- Get your hands in there! Knead the dough right in the bowl for a few minutes until it comes together into a smooth ball. If it’s too dry, add a teaspoon of broth. Too sticky? A sprinkle more flour.
- Roll the dough out on a lightly floured surface to about a 1/4-inch thickness.
- Use a pizza cutter or a knife to cut the dough into small strips or bite-sized pieces. Think pinky-sized for smaller dogs.
- Place the pieces on a baking sheet lined with parchment paper, making sure they don’t touch.
- Bake for 2.5 to 3 hours, or dehydrate for about 5-6 hours, flipping them halfway through. You want them to be completely dry and hard.
- Let them cool completely on a wire rack before you let your dog have one. This is super important!
The biggest mistake I made was not letting them cool all the way. I was so excited to see if Buddy liked the new batch that I gave him one that was still warm in the middle. Let’s just say his tummy was not happy with me later that night. Now I always, always let them sit out for an hour after they come out of the oven. Patience is key for pet-safe treats.
Buddy now knows the sound of the mixing bowl for this recipe. He parks himself right in the kitchen doorway, just watching every move. One time I dropped a blob of dough and he lunged for it before I could even react. He thought it was the best thing ever, even raw! I had to gently fish it out of his mouth, which was not a fun game for either of us. Now I’m way more careful about keeping things off the floor.
What I love most about this dog healthy chew recipe with parsley for dental care is that I know exactly what’s in it. No weird preservatives or mystery ingredients. It’s just simple, good stuff. Buddy’s teeth look great and his vet always comments on how clean they are for his age. I swear by these homemade treats over anything from a store bag now.
If I were to change one thing next time, I might try adding a tiny bit of mint for extra breath-freshening power. I’ve heard it’s safe for dogs in small amounts, but I’d definitely check with my vet first. You can never be too careful when you’re making healthy pet snacks yourself.
Nutrition Info (per serving)
| Calories | Carbs | Fat | Protein |
|---|---|---|---|
| ~28 | ~4g | ~1g | ~1g |
I was surprised how low-cal these are! It means I can give Buddy a couple as a reward without feeling guilty. The carbs give him a little energy, and the tiny bit of fat from the coconut oil is great for his skin. For dogs with wheat sensitivities, just swap the whole wheat flour for oat flour. It works just as well and is easier on their stomachs.
Ingredient Swaps
| Ingredient | Substitution |
|---|---|
| Whole Wheat Flour | Oat Flour, Brown Rice Flour |
| Chicken Broth | Beef Broth, Bone Broth (dog-safe), or even just water |
| Applesauce | Mashed Banana or Puréed Pumpkin (100% pure, not pie filling!) |
I tried the mashed banana swap once. The dough was way stickier and harder to work with, and the chews came out a bit softer. Buddy still loved them, but they didn’t have that long-lasting crunch he really needs for dental care. Puréed pumpkin is my favorite swap—it adds fiber and he goes nuts for the taste.
Tips
- Don’t skip the kneading! It really makes the dough come together and gives the chews a better texture.
- Make a double batch and freeze half the dough for later. It saves so much time.
- Test for doneness by breaking one chew in half. It should snap cleanly, with no soft or doughy middle.
- Store them in an airtight container in the fridge to keep them fresh and crunchy for up to two weeks.
My lesson on storage? I left a big batch in a ceramic jar on the counter once. After a few days, they lost their crunch and got a little chewy. Buddy still ate them, but they weren’t doing their job scraping his teeth. I felt so dumb. Now they always go right in the fridge, and they stay perfect.
FAQ
Can I use garlic instead of parsley for my dog’s breath?
Oh gosh, no! Never, ever use garlic or onion. I know they’re in a lot of human breath remedies, but they are toxic for dogs and can make them really sick. Stick with parsley or mint—always check with your vet first on mint though!
My dog is a power chewer. Will these hold up?
They’re pretty tough once they’re fully dehydrated, but for a real power chewer, they might not last long. My friend’s German shepherd goes through one in about thirty seconds. For bigger dogs, you can make the pieces thicker and wider, which helps them last a little longer.
How many of these can I give my dog in a day?
I treat these like any other treat. The rule of thumb is that treats should only make up 10% of their daily calories. For Buddy, that’s about two or three of these chews a day. Any more and he might not be hungry for his actual dinner!
That’s everything I know about making a dog healthy chew recipe with parsley for dental care for my goofy Buddy! Hope you give it a try, and if your furry friend gives you the side-eye at first, don’t worry. Mine did too until he realized they were actually for him.
Dog healthy chew recipe with parsley for dental care
A simple, healthy homemade dog chew recipe featuring fresh parsley for fresh breath and coconut oil for a shiny coat. These low-calorie treats are great for dental care.

Ingredients
- 2 cups whole wheat flour (or oat flour for sensitive tummies)
- 1/2 cup fresh parsley, finely chopped
- 1/2 cup low-sodium chicken or beef broth (no onion or garlic!)
- 1/4 cup plain, unsweetened applesauce
- 1 large egg
- 2 tablespoons coconut oil
Instructions
-
Preheat your oven to its lowest setting (170-200°F) or a food dehydrator to 160°F.
-
In a large bowl, combine the whole wheat flour and finely chopped fresh parsley.
-
In a separate bowl, whisk together the low-sodium broth, applesauce, egg, and coconut oil until smooth.
-
Slowly pour the wet ingredients into the dry ingredients and stir until a stiff dough forms.
-
Knead the dough in the bowl for a few minutes until it forms a smooth ball. Add a teaspoon of broth if too dry or a sprinkle of flour if too sticky.
-
Roll the dough out on a floured surface to about a 1/4-inch thickness.
-
Cut the dough into small strips or bite-sized pieces with a pizza cutter or knife.
-
Place the pieces on a parchment-lined baking sheet, ensuring they do not touch.
-
Bake for 2.5 to 3 hours, or dehydrate for 5-6 hours, flipping halfway through, until completely dry and hard.
-
Let the chews cool completely on a wire rack before serving to your dog.
Nutrition (Per Serving)